18
Sep 2025
How to Capture Stunning Night Photography
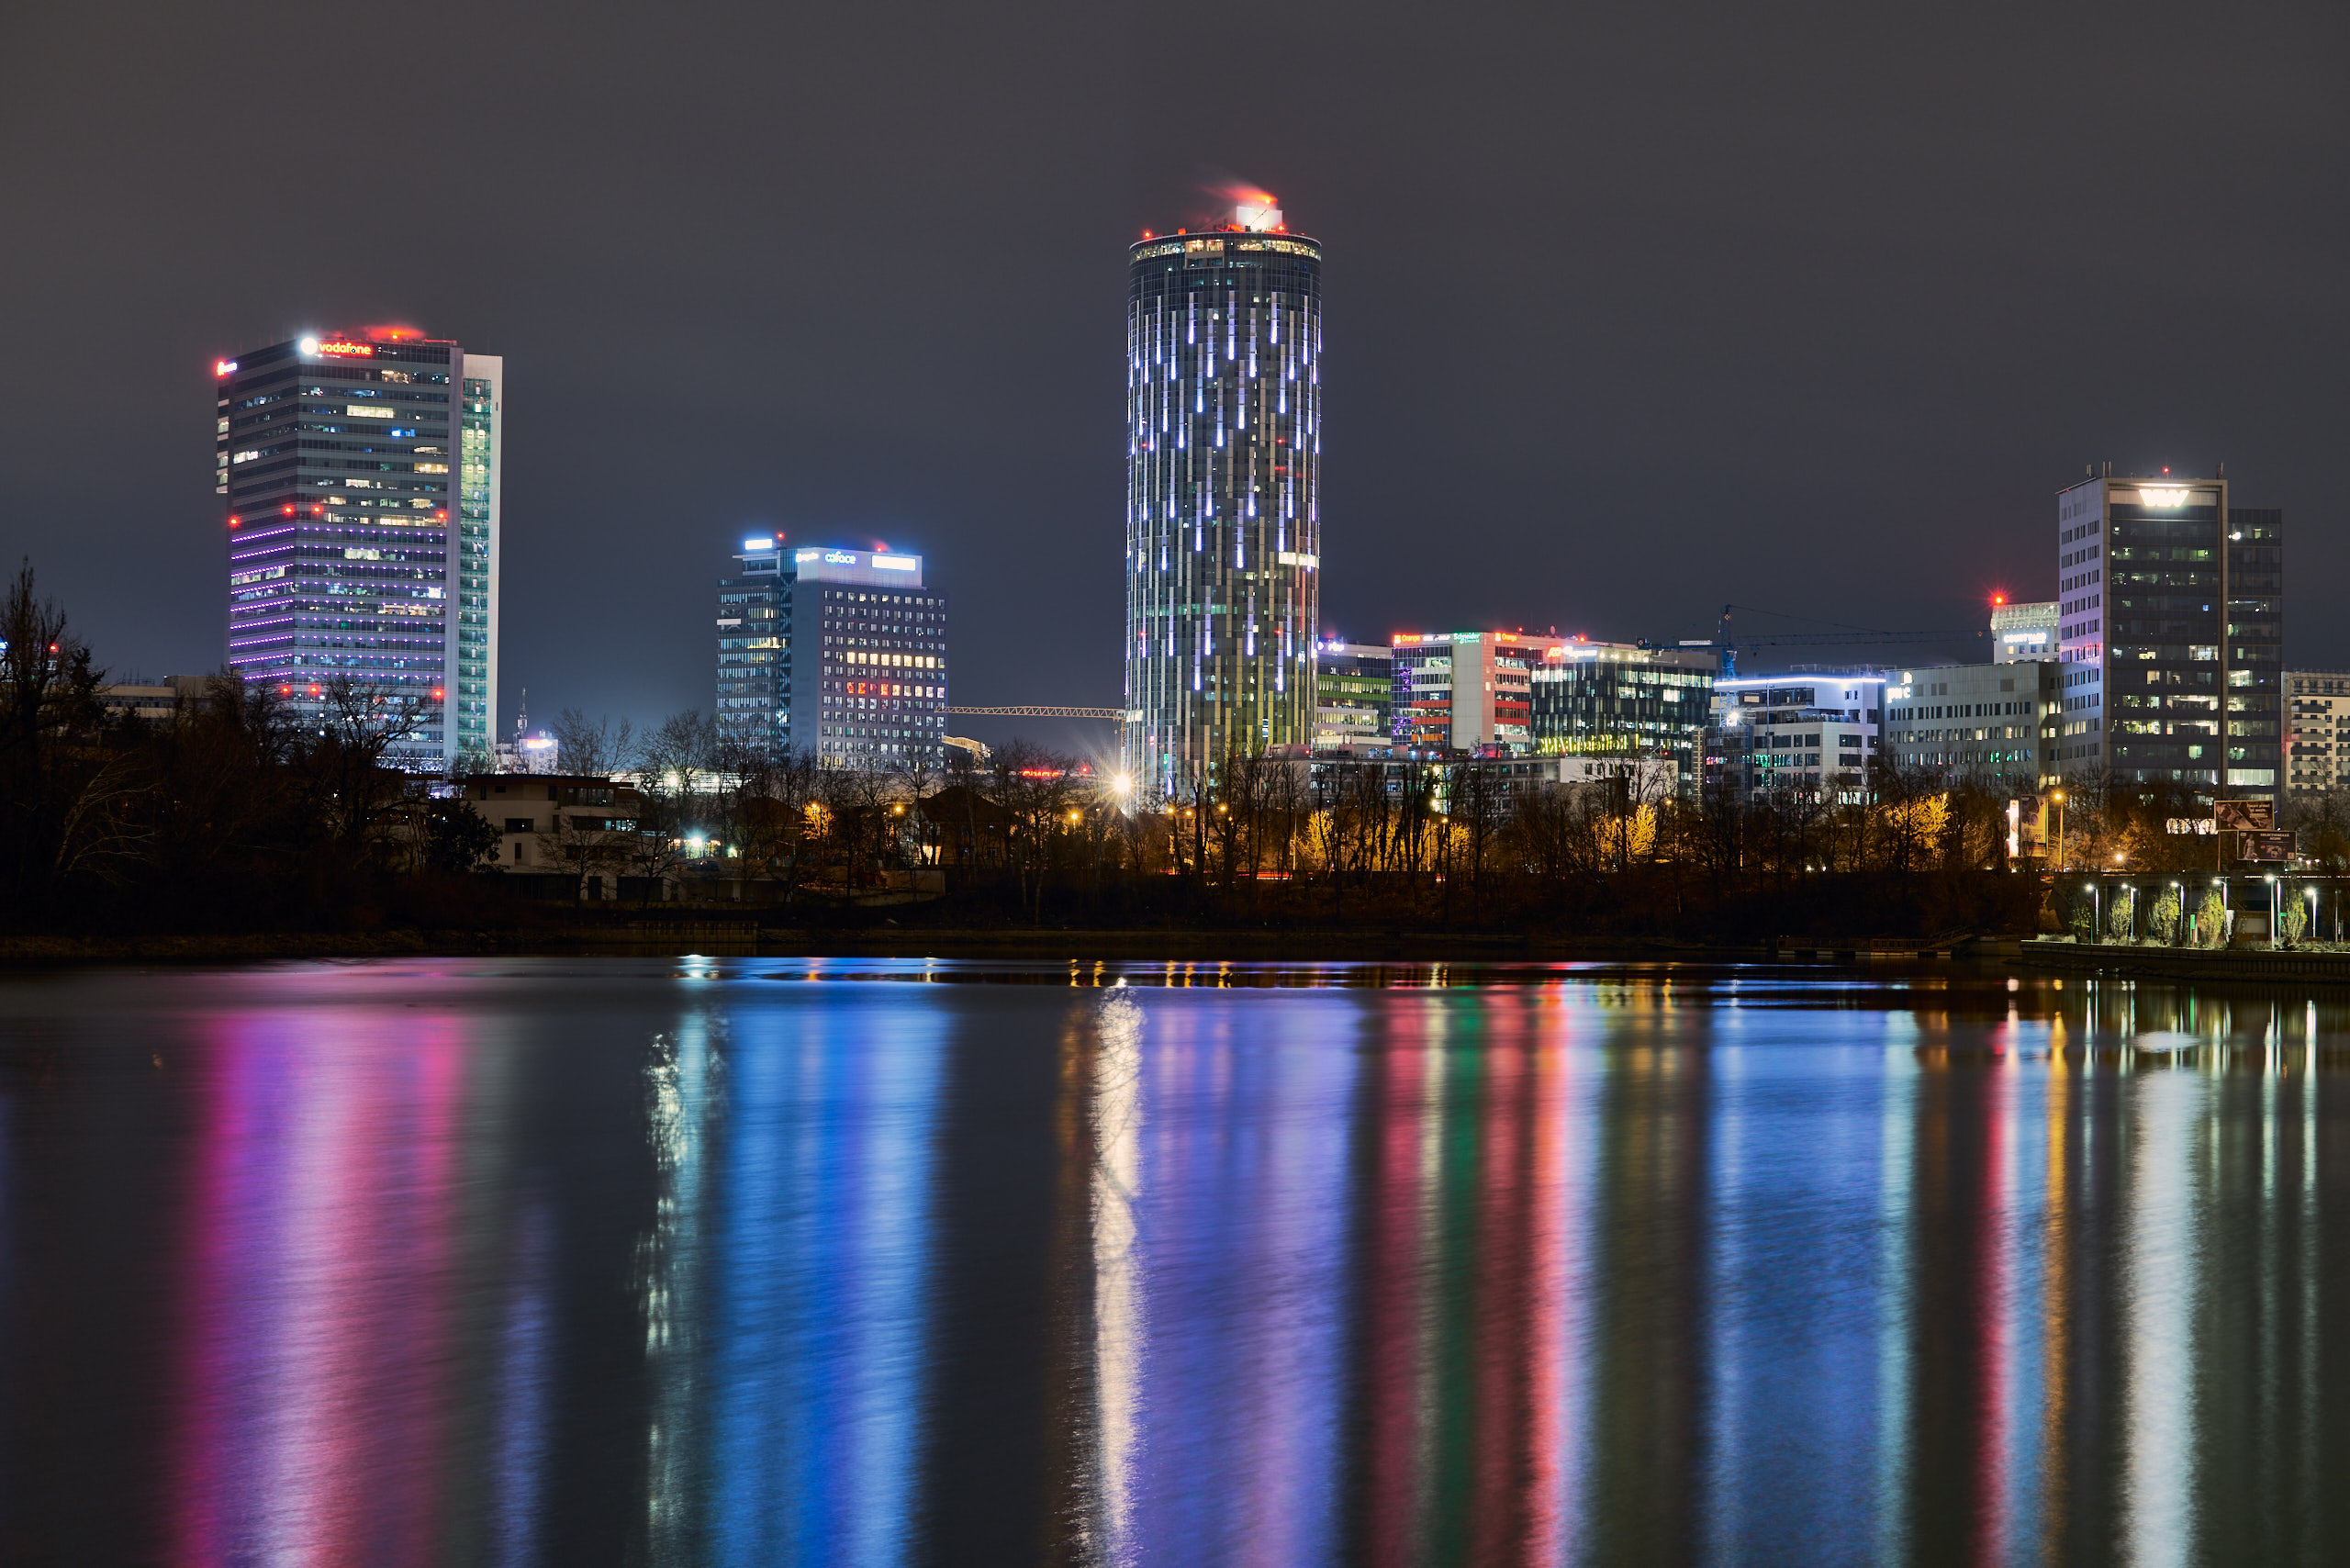
Night photography lets you capture the world in an entirely new light, with a unique and mysterious glow. Whether you’re photographing cityscapes, starry skies, or silhouettes, shooting after dark opens up countless creative opportunities. Here are 10 tips to help you take stunning images once the sun goes down.
1. Use a Tripod
Stability is crucial in night photography since you’ll often be working with slow shutter speeds to gather more light. A sturdy tripod minimizes camera shake and ensures sharp images. Make sure your tripod can handle your camera’s weight and stays steady, especially in windy conditions.
2. Choose the Right Camera Settings
Manual mode is often best for night shots. Start with a low ISO (100–400) for clean image quality, and increase it only if necessary. Use a long shutter speed (10–30 seconds) to capture more light, and set your aperture to a mid-range (f/8–f/11) for deeper depth of field.
3. Focus Manually
Autofocus struggles in low light, so switch to manual focus. Use Live View to zoom in on a bright point (like a streetlight or star) and adjust until it appears sharp. This ensures your subject stays in focus even in challenging conditions.
4. Incorporate Light Trails
Moving lights from cars, trains, or bikes can add drama and energy to your photos. Set your camera on a tripod and use a slow shutter speed to capture their movement. Experiment with different exposures to control the length and brightness of the trails.
5. Try Light Painting
Light painting uses a handheld light source (like a flashlight or phone) during a long exposure to “paint” light into the frame. You can highlight objects, draw shapes, or even write words, adding a creative and playful element to your night photography.
6. Use a Wide-Angle Lens
Wide-angle lenses are great for night photography—perfect for landscapes, cityscapes, or the night sky. They capture more of the scene and create depth. Prime lenses with wide apertures (f/2.8 or lower) are especially useful for letting in more light.
7. Capture Starry Skies and the Milky Way
For astrophotography, pair a wide-angle lens with a wide aperture (f/2.8 or lower). Use a high ISO (1600–3200) and a shutter speed of 10–20 seconds. Longer exposures may cause star trails due to Earth’s rotation, so experiment to find the right balance.
8. Pay Attention to Composition
Strong composition makes your night photos stand out. Look for silhouettes, reflections, and dramatic contrasts between light and shadow. Use leading lines, framing, or foreground elements to add depth and structure.
9. Adjust White Balance for Natural Colors
Artificial lighting often creates unwanted color casts. Experiment with white balance settings to correct them. The Tungsten or Incandescent setting reduces the orange-yellow glow of streetlights, or you can fine-tune manually for the most natural look.
10. Enhance in Post-Processing
Editing is essential for night photography. Use Lightroom or Photoshop to adjust exposure, contrast, and color balance. Apply noise reduction carefully to minimize grain from high ISOs. Subtle adjustments can bring out hidden details while keeping the image natural and impactful.
✨ With patience, the right settings, and a bit of creativity, night photography opens up a world of dramatic and unforgettable images.