16
Sep 2025
How to Use Motion Blur in Dance Photography
Motion blur can be a powerful tool in dance photography, allowing you to capture the fluidity, rhythm, and intensity of movement in a single frame. By intentionally blurring parts of your image, you can convey the dynamism and artistry of dance, making your photos feel alive and expressive. Here’s a guide to using motion blur effectively in dance photography.
1. Understand the Concept of Motion Blur
Motion blur occurs when a moving subject is captured at a slow shutter speed, causing the motion to appear as a soft streak in the image. In dance photography, motion blur can emphasize the direction and flow of movement, creating an abstract yet beautiful representation of the performance. Learning to control this effect adds a unique dimension to your work.
2. Select the Right Shutter Speed
Shutter speed is the primary factor influencing motion blur. For dance photography, start with speeds between 1/10 and 1/50 of a second, depending on the dancer’s movement and the amount of blur you want. A slower shutter speed will create stronger blur, while a faster one will freeze more of the action.
3. Use Manual Mode
Manual mode gives you control over shutter speed and aperture, providing the flexibility to experiment with different effects. Begin with a medium aperture (around f/5.6–f/8) to balance depth of field and light intake. Adjust ISO as needed to maintain proper exposure without introducing excess noise.
4. Find the Right Moment to Capture Motion
Timing is key in dance photography. Study the dancer’s rhythm and look for peak moments, such as mid-spin or mid-leap. Capturing at these points can produce dramatic motion blur that highlights both the energy and emotion of the movement.
5. Experiment with Panning
Panning involves tracking the dancer’s movement with your camera at a slow shutter speed. This keeps the dancer relatively sharp while blurring the background, enhancing the sense of speed and direction. It works especially well with linear movements, like gliding or running across the stage.
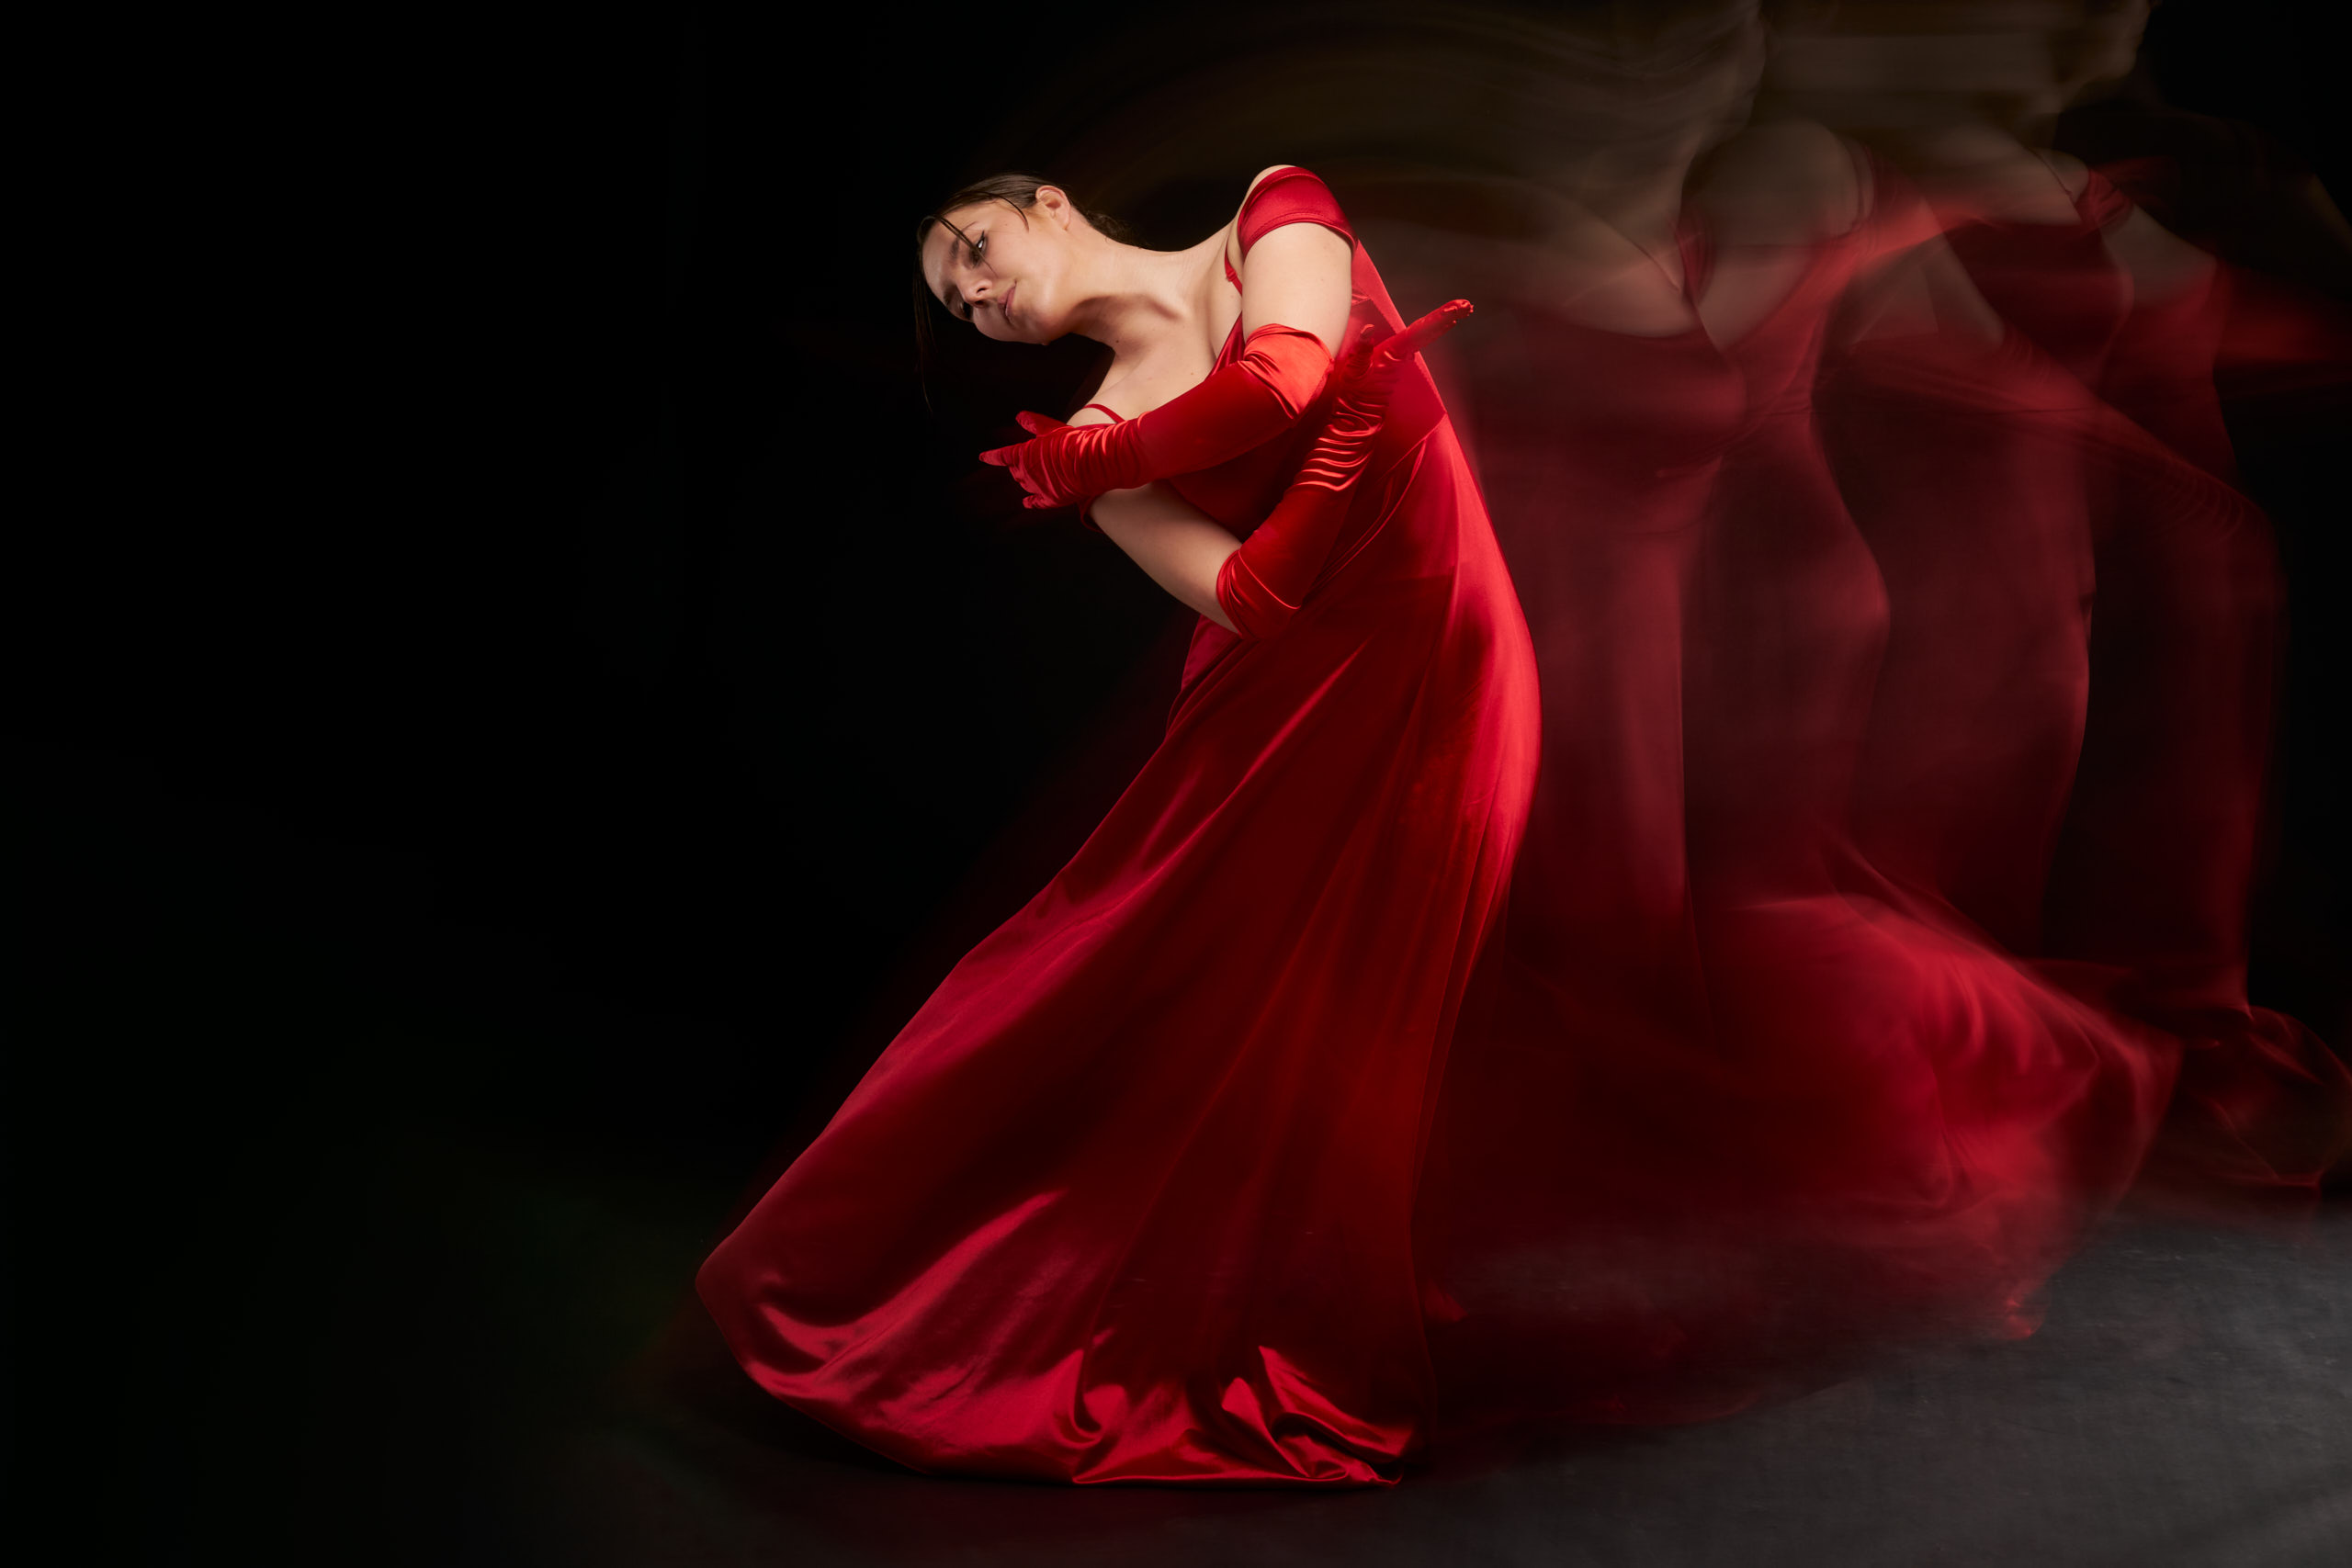
6. Combine Sharp and Blurred Elements
Mixing sharp and blurred areas creates visual contrast and interest. For example, keep the dancer’s face or hands in focus while allowing limbs or clothing to blur. This balance highlights specific expressions or gestures while still conveying motion.
7. Use Lighting for Dramatic Effect
Lighting plays a significant role in motion blur photography. Stage lighting or controlled sources can emphasize specific parts of the dancer or create dramatic shadows. Backlighting or side lighting works particularly well, outlining the dancer’s form and accentuating the flowing blur of movement.
8. Try Different Angles and Perspectives
Changing your shooting angle can intensify the sense of motion. A low angle can make leaps look more powerful, while a high angle emphasizes footwork and patterns. Don’t hesitate to experiment with perspectives to add depth and variety to your images.
9. Use a Tripod for Stability
A tripod ensures stability when using slower shutter speeds, especially in low-light conditions. By keeping the camera steady, you can capture intentional blur without introducing unwanted shake, resulting in cleaner, more controlled effects.
10. Edit Thoughtfully to Enhance Motion
In post-processing, refine the motion blur effect by adjusting contrast, brightness, and color saturation. Enhancing highlights and shadows can draw attention to the dancer’s form and the flow of movement, while subtle edits preserve the atmosphere and lighting of the original scene.